Navigating Safety in DIY Home Improvement
Embarking on a DIY home improvement project can be both thrilling and daunting. The allure of transforming your living space with your own hands is incredibly appealing, but it comes with its own set of challenges and risks. Whether you're swinging a hammer, wielding a paintbrush, or operating power tools, safety should always be your top priority. In this article, we'll explore essential safety measures that can help you navigate the world of DIY with confidence, ensuring that your projects not only enhance your home but also keep you safe and sound.
Before you dive headfirst into your next DIY project, it's crucial to recognize the potential hazards that lurk around every corner. From minor cuts and scrapes to more serious injuries, the risks can vary significantly depending on the task at hand. For instance, while painting may seem harmless, improper ladder use can lead to falls, and inhaling fumes can pose health risks. Therefore, understanding these risks is the first step in mitigating them effectively. Here are some common risks associated with DIY home improvement tasks:
- Falls: Often due to unstable ladders or slippery surfaces.
- Cutting Injuries: Resulting from improper use of tools.
- Fume Inhalation: From paints, solvents, and adhesives.
- Electrical Hazards: Occurring when working with wiring or outlets.
By being aware of these risks, you can take proactive measures to protect yourself and ensure a safe working environment.
When it comes to DIY projects, wearing the right protective equipment is non-negotiable. Think of safety gear as your personal armor against injuries. Just like a knight wouldn’t charge into battle without their shield, you shouldn’t tackle home improvement tasks without the proper gear. Here are some must-have items:
- Gloves: Protect your hands from cuts, abrasions, and chemicals.
- Goggles: Shield your eyes from dust, debris, and harmful substances.
- Masks: Guard against inhaling harmful fumes or dust particles.
- Ear Protection: Essential when using loud power tools.
Investing in quality safety gear not only enhances your comfort but also significantly reduces the likelihood of accidents.
Using the appropriate tools is vital for both safety and efficiency. Just as a chef wouldn’t use a butter knife to chop vegetables, you shouldn’t use the wrong tools for your DIY tasks. Selecting the right tools involves understanding their safety features and functionality. For example, power tools often come with safety switches and guards, while hand tools should be kept sharp and well-maintained to ensure effectiveness. Always read the manuals and familiarize yourself with the tools before starting your project.
Power tools can be a double-edged sword; they're incredibly useful but can also be dangerous if misused. Here are some essential safety tips for operating power tools:
- Always wear appropriate safety gear.
- Inspect tools before use to ensure they’re in good working condition.
- Keep your workspace clean and free of clutter.
- Follow the manufacturer's instructions carefully.
By adhering to these guidelines, you can minimize risks and enjoy a smoother DIY experience.
Even hand tools require careful handling. While they may seem less intimidating than power tools, improper use can still lead to injuries. Always use the right tool for the job, and maintain a firm grip while working. Additionally, store tools in a designated area to avoid accidents and keep them out of reach of children. Remember, a little caution goes a long way in ensuring your safety.
A well-prepared workspace is key to safety. Imagine trying to cook in a messy kitchen; it’s chaotic and dangerous! The same principle applies to DIY projects. Start by organizing your work area. Ensure proper lighting to illuminate your tasks and declutter the space to prevent tripping hazards. It’s also wise to keep a first-aid kit nearby, just in case. Taking these steps can create a safer environment and help you focus on your project without distractions.
Accidents can happen, even to the most cautious DIYers. That's why being prepared is crucial. Having essential first aid supplies on hand can make a world of difference in case of minor injuries. Some basic supplies to include are:
- Adhesive bandages
- Antiseptic wipes
- Gauze and tape
- Scissors
- Pain relievers
Familiarize yourself with basic first aid procedures for common injuries, such as cuts or burns. Knowing how to respond promptly can significantly reduce the severity of an injury.
In a crisis, having emergency contacts readily available can save precious time. Keep a list of important numbers, such as local emergency services, poison control, and a trusted neighbor or friend, easily accessible while working on your home improvements. This simple step can provide peace of mind and ensure that help is just a call away.
Proper planning can prevent accidents and ensure a smoother process. Think of it as mapping out a road trip; you wouldn’t hit the road without a plan, right? Start by creating a detailed project plan that includes safety considerations. This should outline each step of the project, the tools you'll need, and the safety measures you'll implement. By having a clear roadmap, you can stay organized and focused, reducing the risk of mistakes and accidents.
Setting achievable goals helps maintain focus and safety. Break down your projects into manageable tasks to avoid feeling overwhelmed. Just like eating a pizza one slice at a time, tackling your DIY project in smaller portions can make it feel less daunting. Plus, it allows you to celebrate small victories along the way, keeping your motivation high and your safety in check.
1. What should I do if I get injured while working on a DIY project?
If you sustain an injury, assess the severity first. For minor injuries, clean the wound and apply a bandage. For more serious injuries, seek medical attention immediately.
2. How can I ensure my tools are safe to use?
Regularly inspect your tools for any signs of damage or wear. Keep them clean and properly maintained to ensure they function safely.
3. Is it necessary to wear a mask when painting?
Yes, wearing a mask while painting is essential to avoid inhaling harmful fumes and dust particles, especially in poorly ventilated areas.
4. How can I make my workspace safer?
Keep your workspace organized, ensure proper lighting, and remove any tripping hazards. Always have a first-aid kit nearby for emergencies.

Understanding the Risks
Before you dive headfirst into your next DIY home improvement project, it's essential to take a moment and recognize the potential hazards that may lurk around every corner. Think of it as preparing for a thrilling adventure; you wouldn't embark on a journey without knowing the terrain, right? The same goes for DIY projects. From simple tasks like painting a room to more complex endeavors like installing shelves, each task carries its own set of risks. Understanding these risks can mean the difference between a successful project and a trip to the emergency room.
Common risks you might encounter include:
- Injuries from tools: Whether you're using power tools or hand tools, improper usage can lead to cuts, bruises, or more severe injuries.
- Falls: Climbing ladders or working on elevated surfaces can pose a significant risk if safety precautions aren't followed.
- Electrical hazards: Working with wiring or electrical fixtures can lead to shocks or fires if not handled properly.
- Exposure to harmful substances: Paints, solvents, and other materials can emit toxic fumes or cause allergic reactions.
To mitigate these risks, it's crucial to take proactive steps. Start by assessing the specific project you plan to undertake. Ask yourself questions like, "What tools will I need?" and "Are there any safety precautions I should consider?" This kind of mental preparation is akin to putting on your armor before heading into battle. Additionally, familiarize yourself with the tools and materials you'll be working with. Just as a chef wouldn't use a dull knife for precision cutting, you shouldn't tackle a home improvement project without the right equipment and knowledge.
Another vital aspect of understanding risks is recognizing your own limitations. Are you comfortable working at heights? Do you have experience with electrical work? If the answer is no, it might be wise to either seek assistance or hire a professional. Remember, there's no shame in asking for help. In fact, it often leads to better outcomes and ensures safety. Think of it like having a trusty sidekick; you’re both there to make the job easier and safer.
Finally, always keep in mind that safety is not just about avoiding injuries; it's also about creating a productive and enjoyable environment. By being aware of the risks and taking the necessary precautions, you can transform your home improvement journey into a rewarding experience. After all, what's the point of enhancing your living space if you're constantly worried about your safety? So, gear up, stay informed, and let the creativity flow!

Essential Safety Gear
When it comes to DIY home improvement projects, prioritizing safety is non-negotiable. Just as a knight wouldn’t venture into battle without armor, you shouldn’t tackle home repairs without the right protective gear. This essential equipment not only shields you from potential injuries but also boosts your confidence as you work. Imagine wielding a power tool without the fear of flying debris or sharp edges—sounds liberating, right?
So, what should you include in your safety gear arsenal? Here’s a rundown of the must-have items that can keep you safe while you unleash your inner DIY warrior:
- Gloves: A good pair of gloves is your first line of defense. They protect your hands from cuts, abrasions, and chemicals. Choose gloves that are appropriate for your specific task, whether it’s heavy-duty for demolition or lightweight for delicate work.
- Goggles: Your eyes are precious! Safety goggles shield your eyes from dust, flying particles, and splashes. Opt for goggles that fit snugly and allow for comfortable airflow.
- Dust Masks or Respirators: Breathing in dust and fumes can be harmful. A simple dust mask might suffice for small projects, but for tasks involving paint or chemicals, a respirator is the way to go. It’s like having a personal air filter!
- Ear Protection: If you’re using loud power tools, ear protection is essential. Prolonged exposure to loud noises can lead to hearing loss. Invest in good-quality earplugs or earmuffs to keep your hearing intact.
- Hard Hats: If you’re working in an area where there’s a risk of falling objects, a hard hat is a must. It’s not just for construction sites; it can save your noggin during home renovations too!
While it might be tempting to skip the gear for a quick fix, remember that an ounce of prevention is worth a pound of cure. Wearing the right safety gear is like putting on a seatbelt before driving; it’s a simple step that can save you from serious harm. Plus, when you’re protected, you can focus on the fun part—creating and improving your living space!
In addition to the basic gear listed above, consider your specific project needs. For example, if you’re working with chemicals, you might also want to invest in chemical-resistant gloves and face shields. Always assess the risks associated with your tasks and gear up accordingly. Remember, safety isn’t just a buzzword; it’s your best friend in the DIY world!

Choosing the Right Tools
When it comes to DIY home improvement, choosing the right tools is not just about convenience; it's a matter of safety and efficiency. Imagine trying to cut wood with a dull saw—frustrating, right? Not only does it make the task harder, but it also increases the risk of accidents. Therefore, understanding the tools you need and how to use them correctly is essential.
First, consider the type of project you're tackling. Different projects require different tools. For instance, if you’re painting a room, you’ll need brushes, rollers, and possibly a paint sprayer. On the other hand, if you’re building a bookshelf, you’ll need a drill, saw, and various fasteners. Always assess your project requirements before heading to the hardware store. A well-thought-out list can save you time and ensure you don’t miss anything crucial.
Now, let’s talk about the features of the tools. Each tool has its own safety features that can help you avoid injuries. For example, many modern power tools come equipped with safety guards, automatic shut-off features, and ergonomic designs that reduce the risk of strain. When selecting tools, look for these features:
- Safety Guards: These help prevent accidental contact with blades or moving parts.
- Ergonomic Handles: Tools with comfortable grips reduce fatigue and improve control.
- Weight: Consider the weight of the tool; a lighter tool can be easier to handle and less tiring to use.
Additionally, it’s crucial to choose tools that are appropriate for your skill level. If you’re a beginner, opt for user-friendly tools that won’t overwhelm you. Many manufacturers offer beginner kits that include everything you need to start a project without the complexity of professional-grade tools. Remember, the goal is to make your project enjoyable, not stressful!
Lastly, always prioritize quality over price. It might be tempting to go for the cheapest option, but investing in high-quality tools can save you money in the long run. Durable tools last longer and perform better, which means fewer accidents and more successful projects. Think of it this way: would you rather buy a cheap tool that breaks halfway through your project or a reliable one that gets the job done right the first time?
In summary, choosing the right tools involves understanding your project needs, considering the safety features, matching tools to your skill level, and investing in quality. By taking the time to select the right tools, you set yourself up for a safe and successful DIY experience.

Power Tools Safety Tips
When it comes to tackling DIY projects, power tools can be your best friend, but they can also turn into your worst nightmare if not used properly. Imagine trying to slice through wood with a chainsaw while blindfolded—sounds reckless, right? That's how crucial it is to follow safety tips when using power tools. First and foremost, always read the user manual that comes with your power tool. Each tool has its quirks and understanding them can make a world of difference in preventing accidents.
Before you even plug in that shiny new tool, take a moment to inspect it. Look for any signs of wear and tear, such as frayed cords or loose parts. A quick inspection can save you from a potentially dangerous situation. Additionally, ensure that you are using the right tool for the job. For instance, using a drill when you really need a saw can lead to mishaps. Always choose the tool that matches the task at hand.
Now, let’s talk about your surroundings. A cluttered workspace is a recipe for disaster. Make sure your work area is clean and free of any obstacles that could trip you up. In fact, it’s a good idea to have a designated spot for your tools. This not only keeps your area tidy but also helps you find what you need quickly. Speaking of your area, ensure that you have adequate lighting—you wouldn’t want to misjudge a cut due to poor visibility!
Wearing the appropriate protective gear is non-negotiable when using power tools. At a minimum, you should have safety goggles to protect your eyes from flying debris, ear protection to shield against loud noises, and gloves to enhance your grip and protect your hands. However, be cautious with gloves; they should be snug and not too loose, as loose clothing can get caught in the machinery.
When you’re ready to operate the tool, maintain a firm grip and keep both hands on the tool at all times. This not only gives you better control but also helps prevent accidents. If you’re using a power saw, for instance, always keep your hands clear of the cutting path. It’s not just about being careful; it’s about being smart. Think of it like driving a car; you wouldn’t take your hands off the wheel while speeding down a highway, would you?
Finally, never underestimate the importance of turning off and unplugging your power tools when they’re not in use. This simple action can prevent accidental starts and potential injuries. Additionally, when you’re finished with your project, properly clean and store your tools to ensure they remain in good condition for your next DIY adventure.
In summary, using power tools safely is about combining knowledge with common sense. Remember, a moment of carelessness can lead to a lifetime of regret. So gear up, stay alert, and enjoy your DIY projects with confidence!
Q: What should I do if I feel uncomfortable using a power tool?
A: If you're unsure about using a power tool, it’s best to seek help from someone experienced or consider taking a workshop to gain confidence and skills.
Q: Are there specific power tools that are safer for beginners?
A: Yes, tools like cordless drills and jigsaws are generally easier to handle and can be great starting points for beginners.
Q: What is the best way to store power tools?
A: Store power tools in a dry, clean place, preferably in a toolbox or on a shelf, to keep them organized and protected from damage.

Hand Tools Best Practices
When it comes to DIY home improvement projects, hand tools are often the unsung heroes. They may not have the flashy power of their electric counterparts, but they offer precision and control that can make all the difference. However, using hand tools safely is paramount. First and foremost, always inspect your tools before use. Look for any signs of wear and tear, such as rust or loose parts. A damaged tool can lead to serious accidents, so if you notice anything amiss, it’s better to replace it than risk injury.
Another critical aspect is to maintain a clean workspace. Clutter can be a significant hazard, especially when you’re handling sharp tools like chisels or saws. Make it a habit to clear away any unnecessary items from your work area. This not only enhances safety but also boosts your efficiency. Imagine trying to cut a piece of wood while tripping over stray nails or misplaced tools—frustrating, right?
Furthermore, always use the right tool for the job. It’s tempting to grab the nearest tool, but using the appropriate hand tool for a specific task can prevent accidents and ensure better results. For example, using a hammer when a screwdriver is needed can lead to slips and injuries. Take the time to familiarize yourself with the tools you have. Understanding their intended use will make your projects smoother and safer.
When handling tools, grip is everything. Always maintain a firm hold, especially when applying force. If you’re using a saw, for instance, ensure your hands are positioned correctly and away from the cutting path. This simple precaution can save you from painful accidents. Additionally, consider wearing cut-resistant gloves to protect your hands while still allowing for dexterity.
Lastly, let’s not forget about the importance of proper storage. After you’re done with your project, store your hand tools in a designated area. This not only keeps them organized but also prevents accidents that could occur from tools lying around. Consider using a toolbox or a pegboard to keep everything in its place. By following these hand tool best practices, you can enjoy a safer and more productive DIY experience.
Q: What should I do if I get injured while using hand tools?
A: If you sustain an injury, assess the severity first. For minor cuts or scrapes, clean the wound and apply a bandage. If the injury is serious, seek medical attention immediately.
Q: How often should I replace my hand tools?
A: It depends on usage and maintenance. Regularly inspect your tools, and if you notice any signs of damage or decreased performance, it’s time to consider a replacement.
Q: Are there specific gloves I should use for hand tool work?
A: Yes, look for gloves that provide cut resistance while allowing for flexibility. This way, you can maintain grip and dexterity while protecting your hands.
Q: Can I use power tools instead of hand tools?
A: While power tools can speed up certain tasks, hand tools offer precision and control that are sometimes necessary for detailed work. It’s best to use both types of tools as appropriate for the project.

Work Area Preparation
When it comes to DIY home improvement, the **foundation of safety** lies in your work area. Imagine trying to cook in a cluttered kitchen; the same principle applies to your DIY projects. A chaotic workspace can lead to accidents, distractions, and inefficiencies. Therefore, preparing your work area should be your first step before even picking up a tool. Start by **clearing the space** of any unnecessary items. This means removing furniture, decorations, and anything else that could get in your way or become a tripping hazard. A clean slate allows you to focus on the task at hand without unnecessary interruptions.
Next, consider the **lighting** of your workspace. Proper lighting is not just about visibility; it’s about creating an environment where you can see what you’re doing clearly. If possible, work in well-lit areas or invest in portable work lights that can illuminate your project. Dim lighting can lead to mistakes, which can be costly and dangerous. Additionally, ensure that your workspace is well-ventilated, especially if you're working with materials that emit fumes, such as paints or adhesives. A fresh breeze can make a world of difference in your comfort and health.
Another critical aspect of work area preparation is organizing your tools and materials. Keep everything you need within arm's reach to avoid unnecessary movements that could lead to accidents. Consider using a **tool belt** or a nearby toolbox to store your tools. This not only keeps your tools organized but also reduces the risk of leaving them lying around where they could become a tripping hazard. For larger projects, a **work table** can be a game-changer, providing a stable surface to work on and a designated area for your tools and materials.
Lastly, take a moment to assess any potential hazards in your workspace. Are there any loose wires? Is the floor uneven? Identifying these risks ahead of time can save you from serious injuries later on. If you’re working with heavy materials or tools, ensure that your workspace is stable and free from distractions. By taking the time to prepare your work area, you set yourself up for a **successful and safe** DIY experience.
In summary, a well-prepared workspace is essential for any DIY project. By clearing clutter, ensuring proper lighting and ventilation, organizing your tools, and assessing potential hazards, you can create an environment that promotes safety and efficiency. Remember, safety starts before you even touch a tool!
- What should I do if I don't have enough space for my project?
Consider moving smaller items out temporarily or working in sections to keep your area manageable. - How can I improve lighting in my workspace?
Use portable work lights, or ensure that windows are uncovered to maximize natural light. - What are some common hazards to look out for?
Loose wires, uneven flooring, and clutter are common hazards that can lead to accidents. - How can I keep my tools organized?
Use tool belts, boxes, or pegboards to keep your tools within easy reach and prevent clutter.

First Aid Essentials
Accidents can happen in the blink of an eye, especially during DIY home improvement projects. Whether it’s a tiny cut from handling sharp tools or a more serious injury, being prepared can make all the difference. So, what exactly should you have on hand to tackle minor injuries? It’s crucial to equip yourself with a well-stocked first aid kit. Think of it as your safety net, ready to catch you when things go awry. Here’s a breakdown of essential items you should consider:
| Item | Purpose |
|---|---|
| Adhesive Bandages | For covering small cuts and abrasions. |
| Gauze Pads | To absorb blood and protect larger wounds. |
| Antiseptic Wipes | For cleaning wounds to prevent infection. |
| Medical Tape | To secure gauze pads in place. |
| Scissors | For cutting tape, gauze, or clothing if necessary. |
| Burn Cream | To soothe and treat minor burns. |
| Cold Pack | To reduce swelling and relieve pain. |
It’s not just about having the right supplies; knowing how to use them is equally important. For example, if you get a cut, it’s essential to clean it with antiseptic wipes before applying a bandage. This simple step can prevent infection and promote faster healing. Also, remember to check the expiration dates on your supplies regularly; a first aid kit is only as good as what’s inside it!
Additionally, you should familiarize yourself with basic first aid procedures. Knowing how to treat common injuries can empower you to act quickly and confidently. Here’s a quick rundown of some basic procedures:
- For Cuts and Scrapes: Clean the area with soap and water, apply antiseptic, and cover with a bandage.
- For Burns: Cool the burn under running water for at least 10 minutes, then apply burn cream.
- For Sprains: Rest, ice, compress, and elevate the injured area.
But wait, there’s more! It’s also wise to take a first aid course. Many local organizations offer training sessions that cover more than just the basics. You’ll learn how to handle emergencies, which could be invaluable if a serious injury occurs. Plus, it’s a fantastic way to gain confidence in your ability to respond to unexpected situations.
Lastly, keep a list of emergency contacts in your first aid kit. This list should include numbers for local emergency services, poison control, and any family members or friends who can assist in a crisis. Having this information readily available can save precious time when every second counts.
Q: What should I do if I have a severe injury?
A: Call emergency services immediately. Do not attempt to treat severe injuries on your own.
Q: How often should I check my first aid kit?
A: It’s advisable to check your first aid kit at least once every six months to ensure all supplies are stocked and not expired.
Q: Can I use my first aid kit for my pets?
A: Some items in a human first aid kit can be used for pets, but it’s best to have a separate kit specifically for animal emergencies.
Emergency Contacts
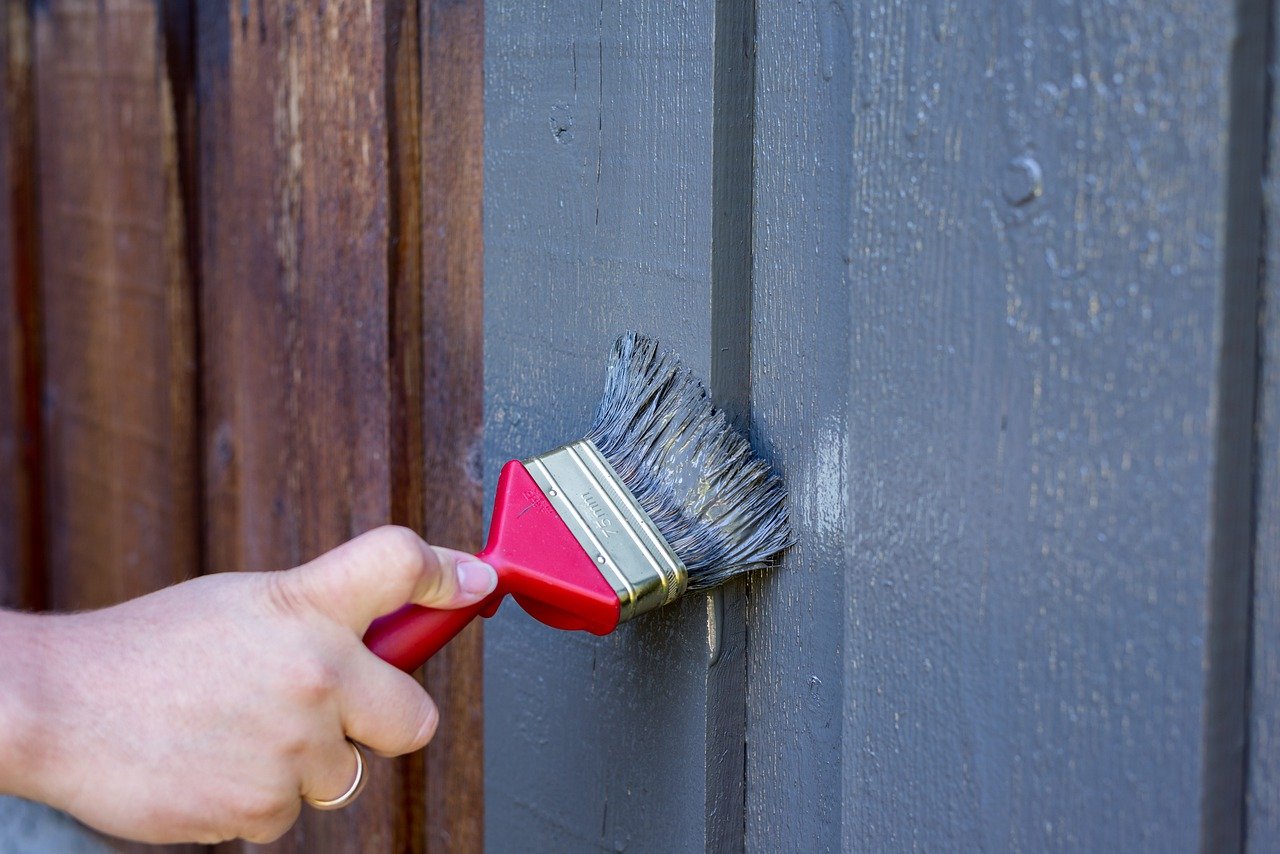
When you're knee-deep in a DIY home improvement project, the last thing on your mind is probably an emergency. But let’s face it—accidents can happen when you least expect them. That’s why it’s absolutely essential to have a list of emergency contacts readily available. Think of it as your safety net; it’s there to catch you when things go wrong. You wouldn’t jump out of a plane without a parachute, would you? Similarly, don’t dive into your projects without a plan for emergencies.
So, what should your emergency contact list include? First and foremost, make sure you have the number for your local emergency services, which is typically 911 in the United States. But don’t stop there! Consider adding numbers for:
- Poison Control: If you’re working with chemicals, it’s critical to have this number handy.
- Local Fire Department: In case of a fire, you want to be able to call for help immediately.
- Family or Friends: Sometimes, just having someone to talk to can make a world of difference if you’re feeling overwhelmed.
- Nearest Hospital: In case of a serious injury, knowing where to go can save precious time.
Keep this list in a visible area in your workspace. You could even use a small whiteboard or a laminated card that you hang up. It’s a simple step that can make a big difference. Additionally, consider programming these numbers into your phone for quick access. You never know when you might need to call for help, and having to search for a number can waste precious seconds in an emergency.
Incorporating emergency contact info into your project planning is a smart move. As you’re sketching out your project timeline and gathering materials, take a moment to jot down these important numbers. It’s a small effort that can provide peace of mind, allowing you to focus on your project without the nagging worry of “what if?”
Lastly, don’t forget to inform your family or housemates about your DIY activities. Share your project plans with them, including where you’ll be working and how long you expect to be at it. This way, if something goes wrong, they’ll know where to find you and can act quickly if needed. Remember, safety isn’t just about wearing the right gear; it’s also about being prepared for the unexpected.
Planning Your Project
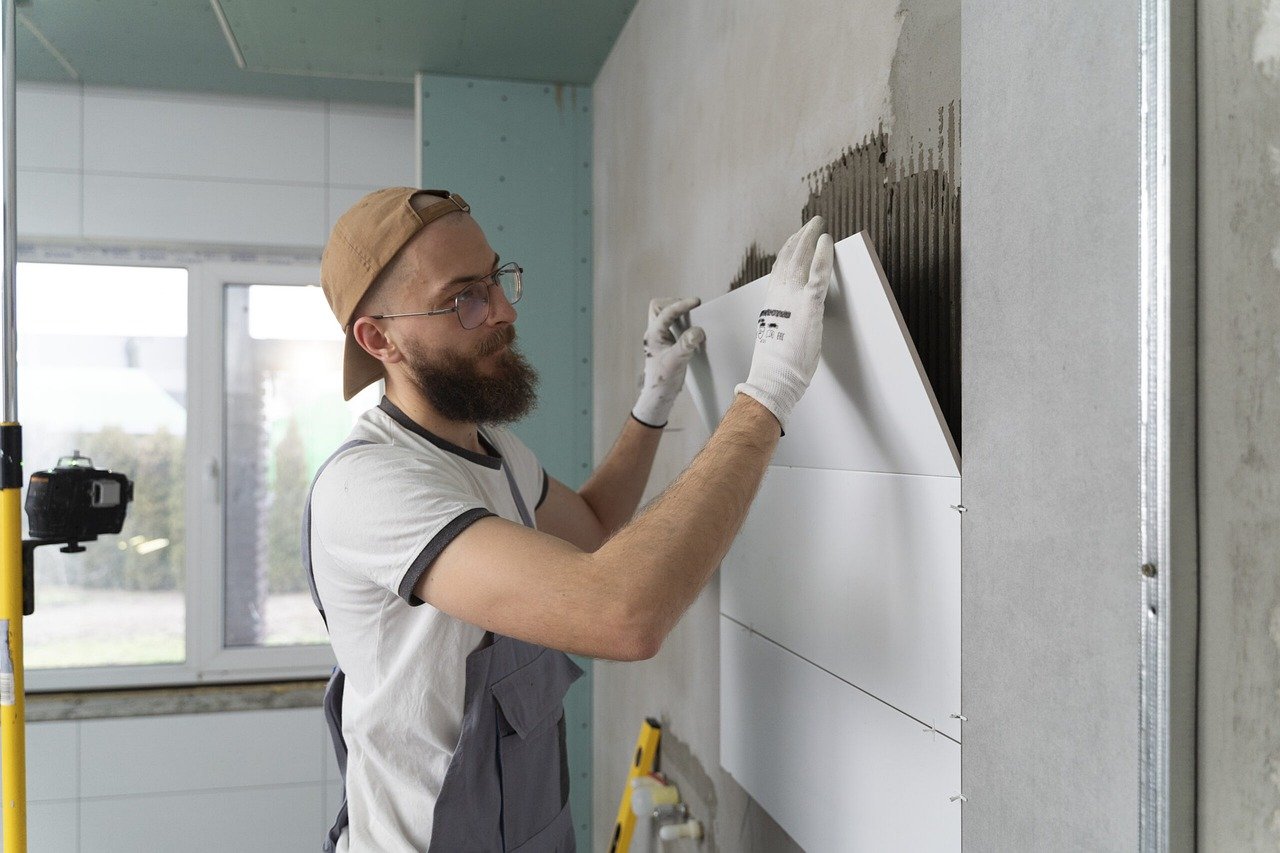
When it comes to DIY home improvement, planning is your best friend. Just like a ship needs a captain to navigate through stormy seas, your project requires a well-thought-out plan to steer clear of potential hazards and setbacks. So, how do you ensure that your project sails smoothly? Start by outlining your goals and breaking down the tasks involved. This not only helps in maintaining focus but also minimizes the risk of accidents, keeping safety at the forefront of your mind.
First things first, consider what you want to achieve. Are you looking to renovate a room, build a deck, or perhaps create a garden oasis? Setting realistic goals is crucial. You want to ensure that your objectives are not only achievable but also aligned with your skill level and available resources. For instance, if you’re a novice, tackling an intricate plumbing job might not be the best starting point. Instead, think about projects that will boost your confidence and skills, like painting a room or assembling furniture.
Next, break down your project into manageable tasks. This can be likened to eating a pizza—if you try to consume the whole thing in one bite, you’re bound to choke! Instead, slice it up into smaller pieces. By doing this, you can focus on one task at a time, reducing the overwhelm that often leads to mistakes or accidents. For example, if you’re renovating a kitchen, your tasks might include:
- Designing the layout
- Shopping for materials
- Demolishing old fixtures
- Installing new cabinets
- Painting walls
Once you’ve established your tasks, it’s time to think about the timeline. Assign realistic deadlines to each task, considering your other commitments. This will help you stay organized and ensure you don’t rush through any part of the project, which can lead to accidents. Remember, it’s better to take your time and do it right than to hurry and have to redo it later!
Additionally, don’t forget to include safety considerations in your planning. Ask yourself: What safety gear do I need? Are my tools in good condition? Is my workspace organized and free from hazards? Addressing these questions ahead of time can save you from potential injuries down the line.
Finally, consider creating a project checklist. This can serve as your roadmap, guiding you through each step of the process. Here’s a simple template to get you started:
| Task | Deadline | Status |
|---|---|---|
| Design Layout | Week 1 | Not Started |
| Purchase Materials | Week 2 | Not Started |
| Demolish Old Fixtures | Week 3 | Not Started |
| Install New Cabinets | Week 4 | Not Started |
| Paint Walls | Week 5 | Not Started |
In conclusion, planning your project is akin to laying a solid foundation for a house. Without it, everything can come crashing down. So, take the time to think things through, set realistic goals, break down tasks, and prioritize safety. Your future self will thank you for it!
Q: How do I know if a DIY project is safe for me to tackle?
A: Assess your skill level, the complexity of the project, and whether you have the necessary tools and safety gear. If in doubt, consult a professional.
Q: What should I do if I get injured while working on a project?
A: First, assess the severity of the injury. For minor injuries, apply first aid. For serious injuries, seek medical attention immediately.
Q: How can I ensure my workspace is safe?
A: Keep your area clean and organized, ensure good lighting, and remove any tripping hazards. Always have your tools and materials within easy reach to minimize movement.

Setting Realistic Goals
When embarking on a DIY home improvement project, is essential for both your safety and the project's success. Think of your project as a marathon, not a sprint. You wouldn't run a marathon without training and pacing yourself, right? The same principle applies here. By breaking down your project into smaller, manageable tasks, you can reduce overwhelm and maintain focus. This approach not only keeps you motivated but also helps you identify potential safety hazards before they become an issue.
One effective method for setting these goals is the S.M.A.R.T. criteria, which stands for Specific, Measurable, Achievable, Relevant, and Time-bound. Let's break it down:
| Criteria | Description |
|---|---|
| Specific | Clearly define what you want to achieve. Instead of saying "I want to paint my room," specify "I want to paint my living room a light blue color." |
| Measurable | Establish how you will measure your progress. For example, "I will finish painting one wall each day." |
| Achievable | Ensure that your goal is realistic given your skills and resources. If you're a beginner, perhaps start with one room instead of the entire house. |
| Relevant | Your goals should align with your overall vision for your home. Ask yourself, "Does this project enhance my living space?" |
| Time-bound | Set a deadline for your project. For instance, "I will complete this project by the end of next weekend." |
By applying the S.M.A.R.T. criteria, you can create a roadmap that guides you through your project while keeping safety in mind. Additionally, it’s vital to communicate these goals with anyone else involved in the project. This ensures everyone is on the same page and understands their roles and responsibilities. Imagine trying to build a piece of furniture without knowing who’s in charge of what—it could lead to confusion and, ultimately, accidents.
Moreover, don't hesitate to reassess your goals as you progress. Sometimes, unexpected challenges arise—maybe you discover a wall that needs repairs before painting or realize you need more supplies. Being flexible and willing to adjust your goals can prevent frustration and keep you safe. After all, it’s better to take a step back and reevaluate than to push through and risk injury or a botched project.
In summary, setting realistic goals is more than just a planning exercise; it’s a crucial part of ensuring a safe and successful DIY home improvement experience. So, take a deep breath, grab your notepad, and start mapping out your project with clarity and confidence. Your home—and your peace of mind—will thank you for it!
- What should I do if I feel overwhelmed by my DIY project? Take a step back, reassess your goals, and break the project down into smaller tasks.
- How can I ensure my DIY project is safe? Always wear appropriate safety gear, use the right tools, and prepare your work area properly.
- What if I run into unexpected problems during my project? Stay calm, evaluate the situation, and adjust your plan as necessary. Don’t hesitate to ask for help if needed.
Frequently Asked Questions
- What are the common risks associated with DIY home improvement projects?
When tackling DIY projects, you might encounter various hazards like falls, cuts, or electrical shocks. It's essential to recognize these risks early. For instance, working on ladders can lead to falls, while improper tool usage can cause injuries. Always assess the task at hand and take necessary precautions to mitigate these dangers.
- What safety gear should I wear for DIY projects?
Wearing the right safety gear is crucial for protecting yourself during DIY tasks. Essential items include gloves to shield your hands, goggles to protect your eyes, and masks to filter out harmful dust and fumes. Depending on the project, you might also need ear protection or sturdy footwear to prevent injuries.
- How do I choose the right tools for my project?
Selecting the appropriate tools can make a significant difference in both safety and efficiency. Consider the specific task you’re undertaking and choose tools that are designed for that purpose. Always check for safety features, such as guards on power tools, and ensure you’re familiar with their operation before use.
- What are some safety tips for using power tools?
Power tools can be intimidating, but following safety tips can help minimize risks. Always read the instruction manual, wear protective gear, and ensure your workspace is clear of clutter. Additionally, never bypass safety features and always keep your hands away from moving parts to avoid accidents.
- How can I prepare my work area for safety?
A well-organized workspace is key to preventing accidents. Make sure your area is adequately lit, free from obstacles, and equipped with all necessary tools and materials before starting. This way, you won’t have to search for items while working, which can lead to distractions and potential mishaps.
- What first aid supplies should I have on hand?
Accidents can happen even with the best precautions, so it's wise to be prepared. Essential first aid supplies include adhesive bandages, antiseptic wipes, gauze pads, and tape. Having these items readily available can help you address minor injuries promptly and effectively.
- Why is it important to have emergency contacts accessible?
In case of a serious injury or accident, having emergency contacts readily available can save valuable time. Keep a list of important numbers, including local emergency services, poison control, and a trusted friend or family member, in a visible location while you work.
- How can I plan my DIY project effectively?
Effective planning is essential for a smooth DIY experience. Start by outlining your project goals, breaking them down into manageable tasks. This will help you stay focused and organized, reducing the risk of accidents or mistakes along the way.
- What are realistic goals for DIY projects?
Setting realistic goals is crucial for maintaining motivation and safety. Instead of overwhelming yourself with a massive project, break it into smaller, achievable tasks. This approach allows you to celebrate small victories and stay on track without feeling stressed or rushed.


