How to ensure food safety during picnics?
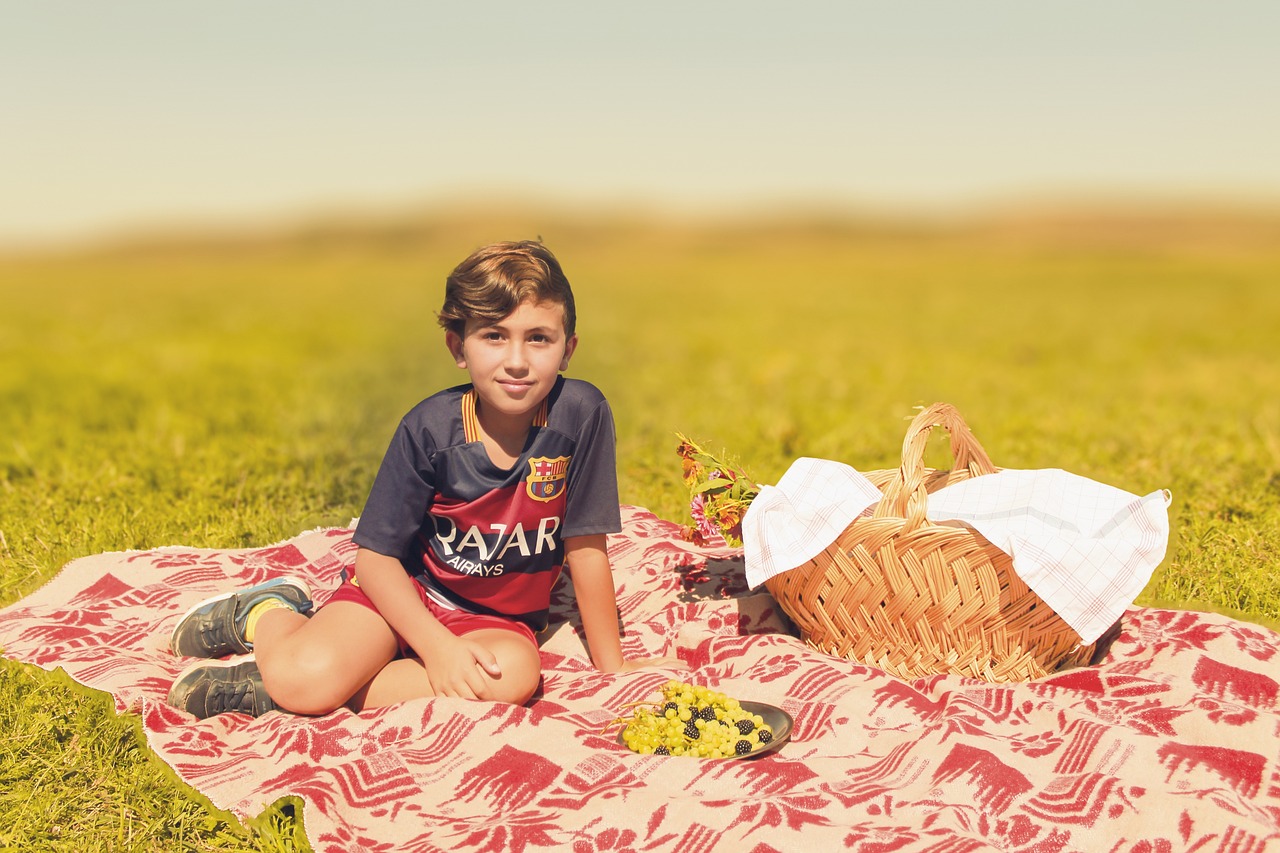
Picnics are a fantastic way to enjoy the great outdoors, bask in the sunshine, and savor delicious food with friends and family. However, amidst the laughter and fun, it's crucial to prioritize food safety. Imagine biting into a juicy sandwich only to realize that the food has been sitting out too long, or worse, that it’s been contaminated. Yikes! To avoid such unfortunate scenarios, we need to be proactive about how we prepare, store, and serve our picnic meals. In this article, we’ll delve into essential tips and guidelines that will ensure your outdoor feasts are not only delightful but also safe for everyone involved.
When it comes to planning your picnic menu, the first step is to choose the right foods. Opt for items that are non-perishable or can withstand being outside for a few hours. Think about foods that are easy to transport and won't spoil quickly. Here are some great options:
- Fresh fruits like apples, oranges, and grapes
- Vegetable sticks with hummus
- Sandwiches made with cured meats and hard cheeses
- Salads dressed with vinegar-based dressings
Balancing convenience with health considerations is key. While it might be tempting to pack that creamy potato salad, remember that mayonnaise can be a breeding ground for bacteria if left out too long. Instead, consider a pasta salad or a quinoa salad that’s less prone to spoilage. Always aim for a mix of proteins, carbs, and plenty of fruits and veggies to keep everyone happy and healthy!
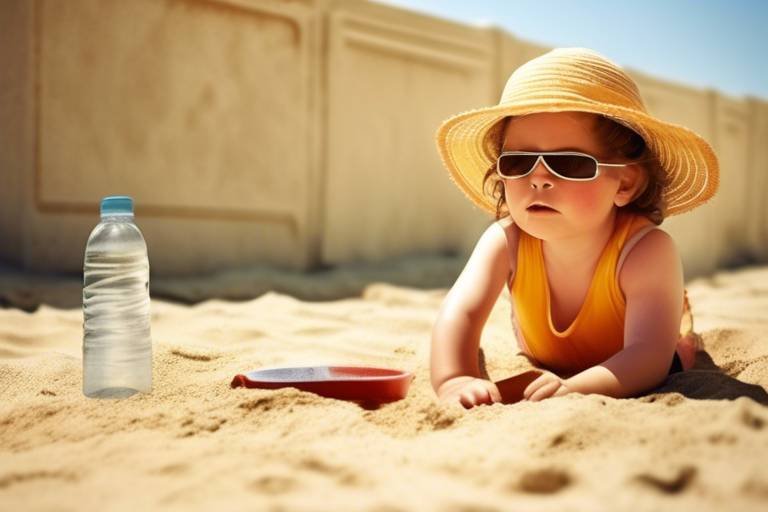
Understanding how to store food safely before and during a picnic is vital. Temperature control is your best friend here. Foods should be kept out of the danger zone—that’s between 40°F (4°C) and 140°F (60°C)—where bacteria can thrive. Insulated containers are a must-have for keeping your food at safe temperatures. Make sure to pack your cooler with a mix of ice packs and ice to maintain a consistent temperature throughout the day.
Coolers are essential for keeping perishable items safe. But how do you pack and maintain your cooler for maximum effectiveness? Start by pre-chilling your cooler and the items you plan to store in it. This will help maintain a lower temperature longer. Also, consider layering your food: place ice packs at the bottom, followed by heavier items, and finish with lighter foods on top. This way, the cold air stays trapped, keeping everything nice and cool.
Not all coolers are created equal. Depending on your picnic scenario, you may need a different type of cooler. Here are a few options:
| Cooler Type | Best For |
|---|---|
| Soft-sided cooler | Short day trips with minimal food |
| Hard-sided cooler | Longer trips with a lot of perishables |
| Insulated backpack | Hiking picnics or when mobility is key |
When deciding between ice packs and ice, consider their pros and cons. Ice packs are reusable, less messy, and can last longer than ice, which melts and can create a soggy mess. However, ice can chill items faster. For optimal food safety, you might want to use a combination of both: ice for quick cooling and ice packs for longer-lasting temperature control.
Food preparation plays a key role in food safety. Always wash your hands before handling any food, and ensure that any utensils and surfaces are clean. If you're prepping your food at home, keep raw meats separate from other ingredients to avoid cross-contamination. Pack your foods in airtight containers to minimize exposure to bacteria and keep everything fresh.
Maintaining hygiene is crucial when eating outdoors. To prevent contamination, always remember to bring hand sanitizers and wipes. If you’re near a water source, washing your hands with soap and water is ideal. It’s also a good idea to bring along a small trash bag to dispose of any waste and keep your picnic area clean. This not only helps with hygiene but also shows respect for the environment.
Proper handwashing can significantly reduce the risk of foodborne illnesses. Here’s how to do it effectively while picnicking:
- Wet your hands with clean, running water.
- Apply soap and lather for at least 20 seconds.
- Rinse thoroughly under clean, running water.
- Dry with a clean towel or air dry.
Disposable utensils can help minimize contamination, especially if you’re in an area without easy access to washing facilities. While they’re convenient, be sure to choose biodegradable options to reduce your environmental impact. Always dispose of them properly to keep the picnic area clean.
Q: How long can food be left out at a picnic?
A: Ideally, food should not be left out for more than two hours, or one hour if the temperature is above 90°F (32°C).
Q: What foods are safest to bring to a picnic?
A: Non-perishable items like fruits, vegetables, and hard cheeses are great choices. Avoid mayonnaise-based dishes.
Q: How can I keep drinks cold during a picnic?
A: Use a separate cooler for drinks, packed with ice or ice packs, to keep them chilled throughout your picnic.
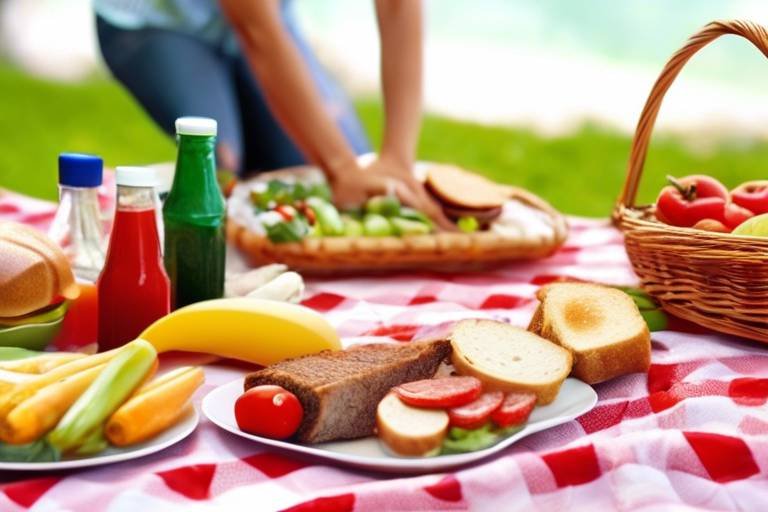
Planning Your Picnic Menu
When it comes to planning your picnic menu, choosing the right foods is not just about taste; it's also about ensuring food safety. You want to create a delightful spread that everyone will enjoy, but you also need to keep in mind how food can spoil when left out in the sun. Think of your menu as a balancing act between convenience and health. For instance, while it might be tempting to pack that creamy potato salad, consider alternatives that are less prone to spoilage, like a fresh pasta salad or a vibrant quinoa salad. These options are not only delicious but also robust enough to withstand a few hours outdoors.
Incorporating a variety of food groups can make your picnic both nutritious and enjoyable. Aim for a mix of proteins, carbohydrates, and fruits and vegetables. For proteins, consider grilled chicken skewers or pre-packed sandwiches made with deli meats. Carbohydrates can come in the form of whole grain wraps or pita bread, while fruits like apples, grapes, or berries make for refreshing snacks that are easy to transport. Vegetables like carrot sticks, cucumber slices, or cherry tomatoes can add a crunch and are less likely to spoil quickly.
Don’t forget about beverages! Hydration is key, especially on warm days. Water is always a solid choice, but you can also bring along some iced tea or lemonade for a refreshing twist. Just remember to keep your drinks cool, as warm beverages can be unappealing and may promote bacterial growth.
As you finalize your menu, consider any dietary restrictions your guests may have. It’s always a good idea to have a few vegetarian or gluten-free options available. This not only shows consideration but also ensures that everyone can enjoy the meal without worry. Here’s a quick table to help you visualize a balanced picnic menu:
| Food Group | Examples |
|---|---|
| Proteins | Grilled chicken skewers, turkey sandwiches, hummus |
| Carbohydrates | Whole grain wraps, pita bread, crackers |
| Fruits | Apples, grapes, mixed berries |
| Vegetables | Carrot sticks, cucumber slices, cherry tomatoes |
| Beverages | Water, iced tea, lemonade |
Finally, remember to keep your meals simple and easy to eat. Finger foods are always a hit at picnics as they eliminate the need for heavy utensils. So, as you plan your picnic menu, think about how you can create a fun, safe, and delicious experience that everyone will remember. After all, a picnic is about enjoying good food and great company, so make sure your menu reflects that sentiment!

Proper Food Storage Techniques
When it comes to enjoying a picnic, ensuring food safety starts long before you pack your basket. Proper food storage techniques are not just about keeping things cool; they are about understanding how to keep your food safe from the moment it leaves your kitchen to when it hits your picnic blanket. Imagine biting into a delicious sandwich only to find out it was stored improperly—yikes! To avoid such culinary catastrophes, let's dive into some essential tips for safe food storage.
The first rule of thumb is temperature control. Perishable foods, like meats, dairy, and certain fruits and vegetables, should be kept at temperatures below 40°F (4°C) to prevent harmful bacteria from multiplying. Consider investing in a good quality cooler, as it can be your best friend in this regard. But it's not just about the cooler; it's also about how you pack it.
When packing your cooler, start by placing ice packs or ice at the bottom. This creates a cold base for your food items. Next, layer your food strategically. Keep raw meats on the bottom to avoid drips contaminating other foods, and place ready-to-eat items like salads and fruits on top. This method not only keeps everything cool but also minimizes the risk of cross-contamination.
For those who might be wondering about the duration of food safety, it's crucial to remember that even with proper storage, food should not be left out for more than two hours. If the temperature is above 90°F (32°C), that time decreases to just one hour! So, keep an eye on the clock, and if you're planning a longer picnic, consider bringing a second cooler for drinks, which can help keep the primary cooler's temperature lower for longer.
Another vital aspect is the use of insulated containers. These can be game-changers for items that need to stay hot or cold. For instance, if you're bringing a pasta salad that you want to serve chilled, an insulated container can maintain its temperature for hours. On the flip side, if you have hot dishes like chili, keeping them in a thermal container will ensure they stay warm until it's time to eat.
Here’s a quick reference table to help you understand the ideal storage temperatures for various food items:
| Food Type | Ideal Storage Temperature |
|---|---|
| Meat (raw) | Below 40°F (4°C) |
| Dairy Products | Below 40°F (4°C) |
| Cooked Foods | Below 140°F (60°C) or above 40°F (4°C) |
| Fruits & Vegetables | Below 40°F (4°C) |
In summary, mastering proper food storage techniques is essential for a safe and enjoyable picnic experience. By paying attention to temperature control, using coolers effectively, and selecting the right containers, you can ensure that your food remains fresh and safe. So pack smart, keep it cool, and enjoy your outdoor feast without the worry of foodborne illnesses!
Using Coolers Effectively
When it comes to ensuring food safety during picnics, using coolers effectively is paramount. A cooler is not just a box filled with ice; it’s your best ally in keeping perishable foods at safe temperatures. Imagine biting into a delicious sandwich only to realize that the chicken salad has been sitting out too long—yikes! That's why understanding how to pack and maintain your cooler can make all the difference between a fun picnic and a foodborne illness.
First things first, the way you pack your cooler matters. Start by placing the ice packs or ice at the bottom. This creates a cold base that helps maintain a lower temperature throughout the cooler. Next, add your perishable items like meats, dairy, and salads. These should be stored in airtight containers to prevent any cross-contamination. Finally, top it off with non-perishables like chips and crackers. This layering technique not only maximizes cooling efficiency but also minimizes the risk of food spoilage.
It’s also essential to keep your cooler closed as much as possible. Each time you open it, warm air rushes in, raising the internal temperature. To combat this, consider using a cooler thermometer to monitor the temperature. Ideally, your cooler should stay below 40°F (4°C) to keep food safe. If you’re planning a long day outdoors, you might want to bring along extra ice or ice packs to replenish the cooler’s coldness throughout the day.
Moreover, not all coolers are created equal. Some are designed for short trips while others can keep items cold for days. Factors such as insulation, size, and seal quality can significantly impact how well your cooler performs. For instance, rotomolded coolers, although pricier, offer superior insulation and durability, making them perfect for extended outings. On the other hand, a lightweight cooler might be more convenient for a quick picnic at the park.
In conclusion, using coolers effectively is a blend of smart packing, temperature monitoring, and choosing the right cooler for your needs. By following these guidelines, you’re not just keeping your food cold; you’re ensuring a safe and enjoyable picnic experience for everyone involved. So, the next time you pack up for a day in the sun, remember: a well-packed cooler is your secret weapon against foodborne illnesses!
- How long can food stay safe in a cooler? Generally, food can stay safe in a well-packed cooler for about 4 to 6 hours, depending on the temperature and the amount of ice.
- Can I use regular ice instead of ice packs? Yes, but ice packs tend to be more efficient as they don’t create water that can seep into your food.
- What types of foods should I avoid bringing to a picnic? Avoid bringing foods that are prone to spoilage, such as mayonnaise-based salads or raw meats unless they are kept properly chilled.
Choosing the Right Cooler
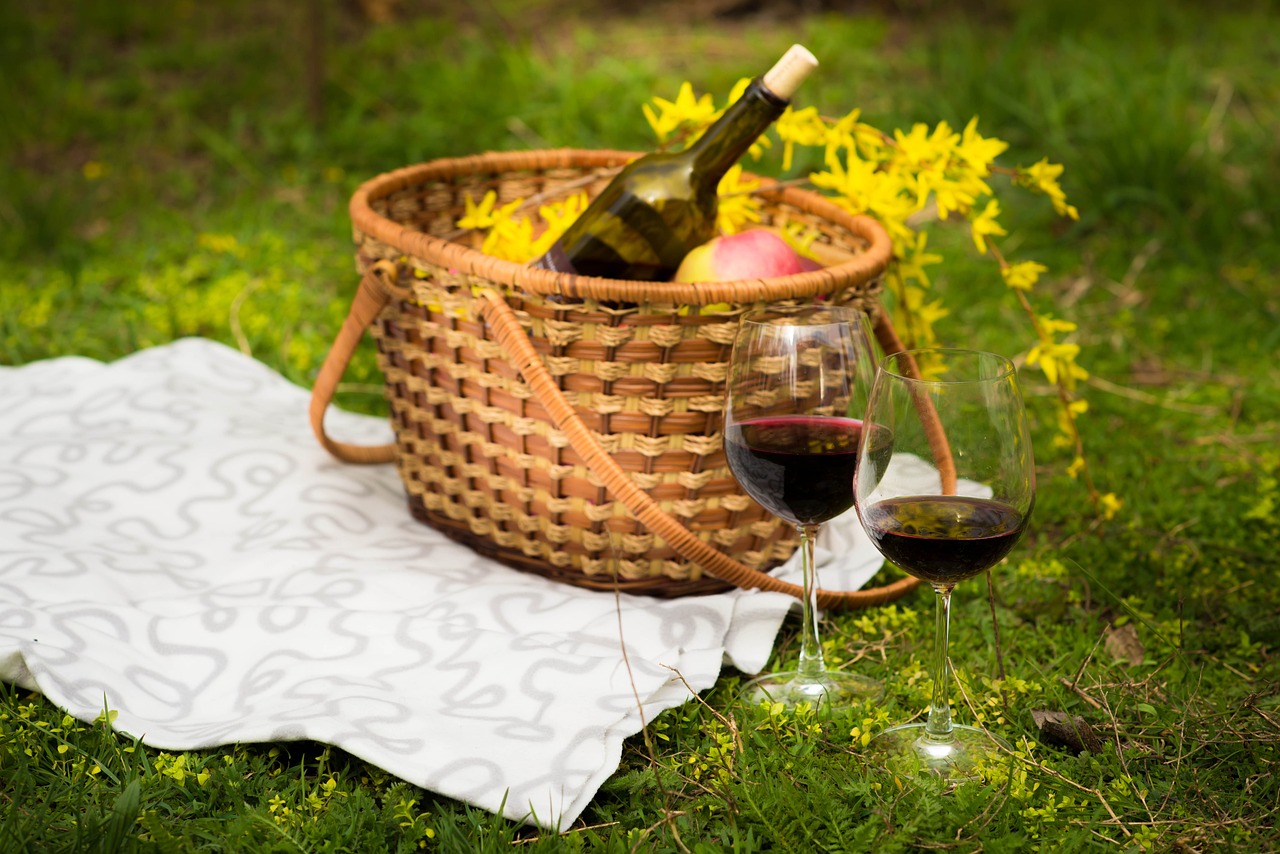
When it comes to enjoying a picnic, one of the most important decisions you’ll make is choosing the right cooler. Imagine this: you’ve packed your favorite sandwiches, refreshing drinks, and a delicious fruit salad, only to find that your cooler isn’t up to the task of keeping everything at the right temperature. Not only can this ruin your meal, but it can also pose serious health risks due to food spoilage. So, how do you select a cooler that ensures your food stays safe and fresh? Let's dive into some key considerations.
First off, think about the size of the cooler. If you’re heading out with a group, a larger cooler is essential. However, if it’s just a small gathering, a compact model might suffice. It’s also important to consider the type of food you’ll be bringing. Heavier items, like drinks and ice, should be at the bottom, while lighter items should be placed on top to prevent crushing. This layering technique not only maximizes space but also helps maintain a stable temperature.
Next, consider the insulation quality of the cooler. A well-insulated cooler can keep your food cold for hours, even in warm weather. Look for coolers made with high-density foam insulation, as they provide superior temperature retention. Additionally, the seal on the lid is crucial. A tight-fitting lid helps trap cold air inside and prevents warm air from sneaking in. If you can, test the lid before purchasing to ensure it seals properly.
Another factor to consider is the portability of the cooler. Will you be carrying it over uneven terrain or setting it up at a picnic table? Look for coolers with sturdy handles and wheels for easier transport. You might also want to check if the cooler has built-in features like cup holders or a bottle opener, which can enhance your picnic experience.
Lastly, don't forget about the price. While it’s tempting to go for the cheapest option, investing in a quality cooler can save you money in the long run by preventing food spoilage. Remember, a good cooler is not just a purchase; it’s an investment in countless enjoyable outdoor meals.
In summary, choosing the right cooler can make or break your picnic experience. By considering factors like size, insulation, portability, and price, you can ensure that your food stays safe and fresh, allowing you to focus on what really matters: enjoying good food and great company in the great outdoors.
Ice Packs vs. Ice
When it comes to keeping your food safe during a picnic, the choice between ice packs and traditional ice can make a significant difference. Both options serve the essential purpose of maintaining a cool temperature for perishable items, but they come with their own pros and cons. Let's dive into the details!
First off, ice packs are often the go-to for many picnic enthusiasts. They are reusable, which makes them an eco-friendly choice. You can freeze them ahead of time and simply toss them in your cooler. One of the biggest advantages of ice packs is that they don’t create a mess. Unlike ice, which melts and can lead to soggy sandwiches and drenched fruit, ice packs maintain their shape and keep everything dry. This means you can enjoy your picnic without worrying about your food getting waterlogged.
On the other hand, traditional ice has its own set of benefits. Ice is readily available and can be a cost-effective option, especially if you’re in a pinch. When it comes to cooling efficiency, ice can sometimes outperform ice packs, especially in larger coolers. The rapid cooling effect of ice can quickly bring down the temperature of your cooler, which is crucial for food safety. However, the downside is that as ice melts, it creates water, which can lead to contamination if not managed properly.
To help you weigh your options, here’s a quick comparison:
| Feature | Ice Packs | Ice |
|---|---|---|
| Reusability | Yes | No |
| Messiness | No mess | Can create soggy food |
| Cooling Efficiency | Good | Excellent |
| Cost | Varies | Generally cheaper |
Ultimately, the choice between ice packs and ice comes down to your personal preferences and the specific needs of your picnic. If you prioritize convenience and cleanliness, ice packs may be the way to go. However, if you need quick cooling and don’t mind a little mess, traditional ice could be your best bet. Whichever you choose, just remember to keep an eye on the temperature of your food to ensure a safe and enjoyable picnic experience!
- Can I use frozen food as ice packs?
Yes! Frozen food can act as effective ice packs while also serving as part of your meal. - How long do ice packs last in a cooler?
Ice packs can last anywhere from several hours to a full day, depending on the cooler's insulation and outside temperature. - Is it safe to eat food that has been in a cooler with melted ice?
As long as the food was kept below 40°F (4°C), it should be safe to eat. Always check the temperature!

Safe Food Preparation Practices
When it comes to enjoying a delightful picnic, the preparation of your food is just as important as the food itself. After all, you wouldn't want a simple outing to turn into a foodborne illness nightmare, right? To avoid such unfortunate scenarios, there are several best practices you should adopt before packing your picnic basket. First and foremost, ensure that all your ingredients are fresh. This means checking expiration dates and avoiding any items that look questionable. Remember, if in doubt, throw it out!
Next, cleanliness is key. Make sure to wash your hands thoroughly with soap and water before handling any food. If you're on the go, consider bringing along a hand sanitizer for those moments when soap and water aren’t available. You can also prep your food in a clean environment. Wipe down countertops and cutting boards with disinfectant wipes to eliminate any lingering bacteria. It’s like giving your food a fresh start before it even hits the picnic blanket!
When you're preparing your meals, try to keep raw and cooked foods separate. This is crucial for avoiding cross-contamination. For instance, if you're slicing up some juicy tomatoes for a salad, don’t use the same cutting board that had raw chicken on it. Instead, use different utensils and surfaces for each type of food. It might seem like a hassle, but it can save you from a lot of trouble later on.
Additionally, consider the temperature at which you prepare your food. Perishable items, such as meats and dairy products, should be kept refrigerated until you're ready to serve them. If possible, prepare your food just before you leave for the picnic to minimize the time it spends at room temperature. This simple act can significantly reduce the risk of bacteria growth. If you’re making sandwiches, for example, assemble them right before packing to keep those ingredients fresh and safe!
Lastly, if you’re bringing any dishes that require cooking, make sure they are cooked thoroughly. Use a food thermometer to check that meats reach the recommended internal temperatures. For instance, chicken should be cooked to at least 165°F (75°C) to ensure it’s safe to eat. It’s like giving your food a protective shield against harmful bacteria!
In summary, safe food preparation is about being proactive. From washing your hands to keeping food separate and at the right temperatures, every step counts. By following these practices, you can enjoy your picnic without the worry of food safety hanging over your head. So, gather your friends, spread that blanket, and dig into your deliciously prepared meal with peace of mind!
Q: How long can food be left out at a picnic?
A: Generally, perishable foods should not be left out for more than two hours. If the temperature is above 90°F (32°C), this time reduces to just one hour.
Q: What are some safe foods to bring to a picnic?
A: Some safe options include whole fruits, hard cheeses, and pre-packaged snacks. Foods that don’t require refrigeration are great choices!
Q: How can I keep food cold during a picnic?
A: Use insulated coolers with plenty of ice packs or ice to keep perishable items cold. Ensure that the cooler is packed properly to maintain the temperature.
Q: Should I wash fruits and vegetables before packing them?
A: Yes! Always wash fruits and vegetables under running water before packing them to remove any dirt or bacteria.
Hygiene Practices During the Picnic
When you're out in nature, enjoying the sun and the company of friends or family, it's easy to overlook some of the important hygiene practices that can make a big difference in ensuring everyone stays healthy. Just imagine biting into a juicy sandwich after a fun day outdoors, only to find out later that someone didn't wash their hands properly before preparing the food. Yikes! That's why maintaining hygiene during your picnic is crucial. You want to savor every moment without worrying about foodborne illnesses.
One of the most straightforward yet effective ways to keep things clean is through proper handwashing techniques. It's essential to wash your hands with soap and water for at least 20 seconds, especially after handling raw food, using the restroom, or touching any surfaces that might harbor germs. If you're in a location where running water isn't available, bring along some hand sanitizer with at least 60% alcohol. Just a couple of squirts can go a long way in keeping your hands clean!
Another tip to consider is the use of disposable utensils. While it might seem wasteful, disposable plates, cups, and cutlery can significantly minimize the risk of cross-contamination. Think about it: if you’re sharing a picnic spread with friends, the last thing you want is for someone to use a fork that just touched raw meat to grab a piece of fruit. To avoid this, using disposable items can help keep everything separate and hygienic. Plus, they make cleanup a breeze! Just toss them in the trash when you’re done, and you’re good to go!
While enjoying your picnic, make sure to keep food covered whenever possible. This not only helps prevent insects from landing on your delicious spread but also reduces the risk of dirt and other contaminants getting into your food. You can use plastic wrap, lids, or even picnic blankets to cover your dishes. And if you’re using any condiments, it’s best to bring them in single-serving packets or small containers with lids. This way, you can avoid double-dipping and keep everything as clean as possible.
It’s also important to designate a specific area for food preparation and eating. Keeping your picnic area organized can help you avoid cross-contamination. For instance, try to keep raw meats and vegetables separate from ready-to-eat foods. If you have a picnic table, use one side for food preparation and the other for dining. This simple separation can drastically reduce the chances of foodborne illnesses.
Lastly, don't forget to dispose of waste properly. Bring along trash bags to collect any leftovers or used utensils. Leaving trash behind not only harms the environment but can also attract pests, which can lead to further hygiene issues. A clean picnic area is a happy picnic area!
Here are some common questions people have about hygiene practices during picnics:
| Question | Answer |
|---|---|
| How often should I wash my hands during a picnic? | Wash your hands before handling food, after using the restroom, and whenever they get dirty. |
| Is hand sanitizer effective? | Yes, as long as it contains at least 60% alcohol, it can effectively reduce germs. |
| Can I reuse disposable utensils? | It's best to use disposable utensils only once to minimize the risk of contamination. |
| What should I do if I notice food contamination? | If you suspect food has been contaminated, it's safer to discard it to avoid any health risks. |
Handwashing Techniques
When it comes to food safety during picnics, one of the most critical yet often overlooked practices is proper handwashing. It's like the unsung hero of food safety! Imagine you’re enjoying a beautiful day outdoors, surrounded by friends and delicious food. But wait! Have you washed your hands? This simple act can significantly reduce the risk of foodborne illnesses, keeping you and your loved ones safe. So, let’s dive into how to wash your hands effectively while picnicking.
First and foremost, you need to have the right supplies on hand. Bringing along a portable handwashing station can be a game-changer. You don’t need anything fancy; a small container filled with water, soap, and a towel or paper towels will do the trick. If you’re in a pinch, hand sanitizer can be a quick alternative, but it’s always best to wash with soap and water whenever possible. Here’s a quick rundown of the steps to follow:
- Wet your hands: Use clean, running water to wet your hands thoroughly.
- Apply soap: Lather up with soap, making sure to cover all surfaces of your hands.
- Scrub: Rub your hands together for at least 20 seconds. Don’t forget to scrub between your fingers, under your nails, and the backs of your hands.
- Rinse: Rinse your hands well under clean, running water.
- Dry: Use a clean towel or air dry your hands.
Now, you might be wondering why the 20-second rule is so important. Well, think of it like marinating chicken; the longer you let it soak up those flavors, the better it tastes! Similarly, the longer you wash your hands, the more germs you eliminate. If you want to make it fun, try singing a short song or counting to 20 to ensure you’re washing long enough.
Another tip is to wash your hands before and after handling food, especially raw meats or unwashed fruits and vegetables. It’s like wearing a seatbelt; you do it to protect yourself and others, even if it seems unnecessary at the time. And don’t forget to wash your hands after using the restroom, touching pets, or handling any items that might be dirty. It’s all about creating a safe dining environment.
Lastly, if you’re picnicking in a public area, be mindful of your surroundings. Ensure that your handwashing station is set up away from food prep areas to avoid cross-contamination. And remember, even if you’re enjoying a laid-back picnic vibe, maintaining hygiene is non-negotiable. By following these handwashing techniques, you can savor your outdoor feast without worrying about foodborne illnesses.
Q: How often should I wash my hands during a picnic?
A: You should wash your hands before and after handling food, after using the restroom, and anytime you feel they might be contaminated, such as after touching pets or outdoor surfaces.
Q: Can I use hand sanitizer instead of washing my hands?
A: While hand sanitizer is a good alternative when soap and water aren’t available, it’s always best to wash your hands with soap and water whenever possible, especially before eating.
Q: What if there’s no clean water available?
A: If clean water isn’t available, consider bringing bottled water or using hand wipes that contain antibacterial ingredients. However, these should not replace proper handwashing when water is accessible.

Using Disposable Utensils
When it comes to enjoying a picnic, the last thing you want to worry about is food contamination. This is where using disposable utensils can make a significant difference. Why? Because they are not only convenient but also help to minimize the risk of spreading germs and bacteria. Imagine this: you’ve just set up your picnic blanket, the sun is shining, and your delicious spread is laid out, but then you realize you forgot to pack your regular utensils. Panic sets in, right? With disposable utensils, you can simply grab a fork or spoon without a second thought, allowing you to focus on what truly matters—enjoying your time outdoors with friends and family.
Another benefit of using disposable utensils is the ease of cleanup. After a fun-filled day of eating and laughing, the last thing you want to do is wash a pile of dishes. Instead, you can simply gather up the used utensils and toss them in the trash or recycling bin. This not only saves you time but also keeps your picnic area tidy, which is essential for maintaining a clean environment in nature.
However, it's important to choose the right type of disposable utensils. Not all disposables are created equal! Here are a few factors to consider:
- Material: Opt for utensils made from biodegradable materials when possible. They are more environmentally friendly and reduce your impact on nature.
- Sturdiness: Make sure the utensils are sturdy enough to handle the food you’re serving. Nothing ruins a picnic faster than a flimsy fork bending under the weight of a juicy piece of chicken!
- Size: Consider the size of the utensils. For instance, if you're serving salads or pasta, larger forks or spoons may be better suited than standard-sized ones.
In addition to utensils, don’t forget about disposable plates and cups. These can also play a crucial role in food safety. Using single-use plates can help prevent cross-contamination, especially if you’re serving different types of food. For instance, if you have a plate for your grilled meats and another for your fresh salad, you’re less likely to mix raw juices with your fresh greens, which could lead to foodborne illnesses.
Lastly, while disposable utensils are a great option, it’s important to dispose of them properly. Always bring a trash bag with you to collect your waste. Leaving behind trash not only harms the environment but also detracts from the beauty of nature that you’re trying to enjoy. So, as you pack for your picnic, remember to include a plan for waste disposal along with your disposable utensils!
Frequently Asked Questions
- What are the best foods to take on a picnic?
When planning your picnic menu, opt for non-perishable items like crackers, canned goods, and fresh fruits that can withstand the heat. Sandwiches made with sturdy bread and pre-cut veggies are also great choices, as they are easy to pack and eat!
- How can I keep my food cold during a picnic?
Using a cooler is essential for keeping perishable items safe. Make sure to pack it with plenty of ice packs or ice to maintain a low temperature. Remember to keep the cooler closed as much as possible to retain the cold air inside!
- What is the ideal temperature for storing picnic food?
To ensure food safety, keep perishable items below 40°F (4°C). If food is left out in temperatures above 90°F (32°C), it should be consumed within one hour to prevent spoilage.
- How should I wash my hands while picnicking?
Handwashing is crucial to avoid foodborne illnesses. If you don’t have access to running water, bring along some hand sanitizer with at least 60% alcohol and use it before handling food.
- Are disposable utensils safe to use?
Yes! Disposable utensils can help minimize contamination, especially when you’re outdoors. Just make sure to dispose of them properly after your picnic to keep the environment clean.
- Can I use regular ice instead of ice packs in my cooler?
While regular ice can work, it can also create a mess as it melts. Ice packs are often more convenient as they keep the cooler cold without the risk of water pooling at the bottom. Choose what works best for your picnic needs!
- How can I prevent cross-contamination during food prep?
To avoid cross-contamination, use separate cutting boards for raw meats and fresh produce. Always wash your hands and utensils after handling raw food before touching anything else!